Çoğu kullanıcı, Steam'in sürenizi indiremediği bir sorun yaşar. İçerik sunucularının indirme için erişilemez olduğunu bildirir. Kullanıcıların birçok konfigürasyonu nedeniyle bu soruna özellikle herhangi bir sorundan kaynaklanmadığını söylemek güvenlidir. Kullanıcıların yanı sıra Steam Destek'teki tüm yöntemleri içeren çözümlerden bazılarını listeledik.

1.Çözüm: Proxy ayarlarını kaldırma
Açık internet erişiminin kısıtlandığı organizasyonlarda bir proxy sunucusu kullanılır. Ağı izlemek ve kullanıcılara alternatif bir ağ geçidi sağlamak için bir proxy kullanılır. Steam, indirme için sunucularına bağlanmaya çalıştığında proxy ayarları genellikle bir engel haline gelir.
Bilgisayarınızda proxy'yi devre dışı bırakmanın iki yolu vardır.
Yöntem 1: Chrome
- Chrome tarayıcısını açın ve açtıktan sonra Chrome menüsünü (sağ üst) tıklayın.

- Açılır menü geldikten sonra Ayarlar'a tıklayın .

- Ayarlar sayfası açıldığında, üstte bulunan diyalog çubuğuna " proxy " yazın .

- Arama sonuçlarından " proxy ayarlarını aç " yazan sonucu seçin .

- Ayarlar açıldığında, altta bulunan Bağlantılar sekmesindeki " LAN Ayarları " na tıklayın.

- " Ayarları otomatik olarak algıla " yazan satırın işaretini kaldırın . Değişiklikleri Kaydet ve Çık. Steam'i yeniden başlatın.

Yöntem 2: Ağ Ayarları Aracılığıyla
- Çalıştır uygulamasını açmak için Windows + R düğmesine basın.
- Diyalog kutusuna inetcpl yazın. cpl ”.

- İnternet özellikleri açılacaktır. Bağlantılar sekmesine gidin ve LAN ayarlarına tıklayın.
- LAN ayarlarına girdikten sonra, " Ayarları otomatik olarak algıla " yazan satırın işaretini kaldırın . Steam'i yeniden başlatmak için değişiklikleri kaydedin ve çıkın.
2.Çözüm: Chrome Uzantılarını Devre Dışı Bırakma
Bazen, Chrome'da bulunan uzantılar gerçek bir engel oluşturabilir. Ağ ayarlarınıza, özellikle " Ghostery " adlı eklentiye müdahale ederler . Ağınızı izler ve dijital ayak izinizi bıraktığınız yere ilişkin istatistikler sağlar. Hatta hangi web sitelerinin verilerinize erişemeyeceğini kontrol etmenizi sağlar. İndirme işlemine devam etmeden önce bu eklentileri Chrome'dan devre dışı bırakmanız önerilir. Sorun onlar yüzünden olsaydı çözülürdü.
Bu sadece Chrome uzantılarını içermez, ağınızla ilgili HERHANGİ bir programı devre dışı bırakmalısınız (veri monitörü, VPN'ler vb.) Daha karmaşık olan diğer çözümlerle devam etmek yerine denemek daha iyidir.

3. Çözüm: İndirme Bölgenizi Değiştirme
Temel düzeltmelerden biri, indirme bölgesinin değiştirilmesini içerir.
Steam içerik sistemi farklı bölgelere ayrılmıştır. İstemci, bölgenizi ağınız üzerinden otomatik olarak algılar ve varsayılan olarak ayarlar. Bazen, belirli bir bölgedeki sunucular aşırı yüklenmiş olabilir veya donanım arızasından geçiyor olabilir. Dolayısıyla indirme bölgesinin değiştirilmesi söz konusu sorunu çözebilir. Diğer çözümlere geçmeden önce her zaman birçok kez (yalnızca bir denemeyle sınırlı değildir) İndirme Bölgelerini değiştirmeyi deneyebilirsiniz.
- Steam'i açın ve pencerenin sol üst köşesindeki açılır menüden ' Ayarlar'ı tıklayın .
- " İndirilenler " i seçin ve " Bölgeyi İndir " e gidin .
- Kendiniz dışındaki diğer bölgeleri seçin ve Steam'i yeniden başlatın.

Çözüm 4: clientregistry.blob'u silme
Steam'inizin müşteri kaydı bozulabilir ve bu, hatayla karşılaşmanızın nedeni olabilir. Yeniden adlandırmayı / silmeyi deneyebiliriz.
- Steam'den tamamen çıkın ve yukarıdaki çözümde belirtildiği gibi tüm görevleri sonlandırın.
- Steam dizininize göz atın. Varsayılan olan C: \ Program Files \ Steam'dir .
- ' Clientregistry.blob'u bulun .

- Dosyayı ' clientregistryold.blob ' olarak yeniden adlandırın (veya dosyayı tamamen silebilirsiniz).
- Steam'i yeniden başlatın ve dosyanın yeniden oluşturulmasına izin verin.
Umarım Müşteriniz beklendiği gibi çalışır. Hala çalışmıyorsa, aşağıda listelenen adımları izleyin.
- Steam dizininize geri dönün.
- Steamreporter'ı bulun. exe '.

- Uygulamayı çalıştırın ve Steam'i yeniden başlatın.
Çözüm 5: Steam indirme sıranızı temizleme
Steam istemcinizde çok sayıda bekleyen indirme varsa, biri hariç hepsini kaldırmanız ve Steam'i yeniden başlatmanız önerilir.
- Steam istemcinizi Kütüphane sekmesine açın.
- Alt kısımda, " İndirme Duraklatıldı " yazan tıklanabilir bir seçenek göreceksiniz . Sıradaki tüm seçeneklerin öne çıkması için tıklayın.

- Sıradaki öğeleri kaldırmak için aşağıdaki resimde gösterildiği gibi düğmeye tek tek tıklayın .

- Once you have removed them, right click on games (except the one which you want to download first) so the settings come forward. Once the Settings open, click on “Uninstall” button.

- Steam will prompt you to confirm your actions. Click Delete when the prompt comes forward and restart Steam before trying to download that one game again.

Solution 6: Using flush config
We can try running the flush config command to reset the configuration. Follow the steps below.
- Press Windows + R to bring up the Run application.
- In the dialogue bar, type “steam://flushconfig”.

- Press OK. Steam will now pop a window to confirm your actions. Press Ok and restart Steam.

Solution 7: Starting Steam in Safe mode with networking.
Before resorting to more technical methods, you can try running your PC in safe mode (with networking) and try to start the Steam download.
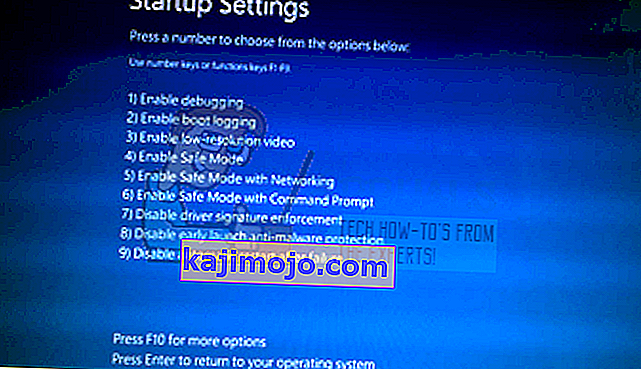
- Get your computer to safe mode by selecting from various options available. Select ‘Enable Safe Mode with Networking’. You can learn how to get your PC to safe mode from here. If you are running Windows 7, press F8 upon the startup of your PC and you will be directed to a similar window where you can select the required option.
- Open Steam and try updating/installing with it again. This method should remove all obstacles (if any) which your Steam may be experiencing.

Solution 8: Disabling Safe-web from router
Your WiFi router may have a setting called safe-web in it. What this does is filter all the incoming data it deems are not trustworthy. It is very common for it to flag Steam as one and disrupts the connection with your computer.
Since there are hundreds of different routers used by the users, it is very difficult to list the solution on how to disable the option for every one of them. Here are some guidelines so you can have an idea.
- Web Safe can be found in the parental control section on the WiFi router configuration.
- It can also be found on the Virus section or the Filtering section.
- To enter your router settings, type the IP which is associated with it (for example for some it is 192.168.1.1). You can check the required IP either by calling your modem provider or by looking at the back of the device ( even its packaging box may have details).
Solution 9: Disabling Anti-virus and Defender/firewall
Before proceeding to reinstall Steam, we can try meddling with the antivirus. Antivirus monitors each packet of your computer sends and receives. Although Steam has collaborated with most of them so they don’t give problems, sometimes they do. The solution is to disable/uninstall them and check if you are able to download then.
McAfee Antivirus:
McAfee has no way to exclude certain files from its real time scanning. The only way is to disable the antivirus entirely until the game is updated. To do this, open McAfree and select “Virus and Spyware Protection”. Here you find the option of “Real-Time Scanning”. Click that option and turn it off.

Then follow the following instruction to verify integrity of game files.
- Restart your computer and relaunch Steam.
- Head over to the library section and right click on the game which is giving you problems.
- Click on its properties and select the local files tab.
- Click the verify integrity of game files button and Steam will verify that game in a few minutes.
Hopefully, after performing the above steps, your Steam won’t give any issue.

ESET NOD32
NOD32 has the tendency to mark some application files as malicious and will most probably quarantine it. This often results in the error while updating a game. Browse to your current Steam directory and copy the address
- The default location for your steam folder should be “C:\Program Files (x86)\Steam”.
Press ⊞ Win + R button. This should pop-up the Run application.
In the dialogue box write “C:\Program Files (x86)\Steam”.

Or if you installed Steam in another directory, you can browse to that directory and you can proceed with steps mentioned below.
After copying the address open ESET NOD32 and paste the location in exclude from real time scanning.
Follow the ‘verify integrity of game files’ method listed above and you will be all good.

Kaspersky AV
Kaspersky may sometimes flag Steam as an intruder and disable it from making any changes to the hard drive. To fix this, head over to ‘threats and exclusions’. Navigate to ‘trusted zone’ and add Steam.exe as a trusted application. Remember to change the settings to Do not restrict application activity as well as Do not scan opened files.
Follow the ‘verify integrity of game files’ method listed above and restart your computer.

Windows Defender
- Click Windows button and in the search bar type “Windows defender”. Among all the options, there will be an application named “Windows Defender Security Center”. Open it.
- Upon opening, you will find a list of options available in the new window. Select the option “Virus and threat protection”.

- Upon entering the menu, navigate to Virus and Threat Protection Settings. Windows may prompt you to allow administrator access to use this feature. If so, press Yes.

- After entering the required menu, you should search the window which says “Add or remove exclusions”. Click it and you will be navigated to a menu where you can add exclusions. You can exclude folders, extensions, and even files. In this case, we will exclude the whole Steam folder which is located in the directory you downloaded it.

- Click on the option which says “Exclude a folder” and navigate to your Steam directory. The default location for your steam folder should be “C:\Program Files (x86)\Steam”. Once you reach the location select the folder and save changes.
- Restart your computer and run Steam with administrative privileges. Hopefully, your speed issue will be resolved.
Solution 10: Downloading Latest Steam Client
- The default location for your steam folder should be “C:\Program Files (x86)\Steam”.
Press ⊞ Win + R button. This should pop-up the Run application.
In the dialogue box write “C:\Program Files (x86)\Steam”.

Or if you installed Steam in another directory, you can browse to that directory and you can proceed with steps mentioned below.
- Locate the following folders:
Steam.exe (Application)SteamApps (Folder)Userdata (Folder)
- Delete all the other files/folders/applications except the ones mentioned above.
- Head over to the Steam website and download the latest Steam client. Don’t launch the old Steam.exe present in your directory at all. The problem won’t be solved.
- Install Steam using the installer in the same directory as your previous one. Hopefully, after installation, the problem will be solved.
Solution 11: Changing Default Browser
In a weird turn of events, having Chrome or any other browser set as the default browser sometimes causes issues with the download request that Steam sends to its servers. Therefore, in this step, we will be setting internet explorer as our default browser temporarily to make sure that the download proceeds. For that:
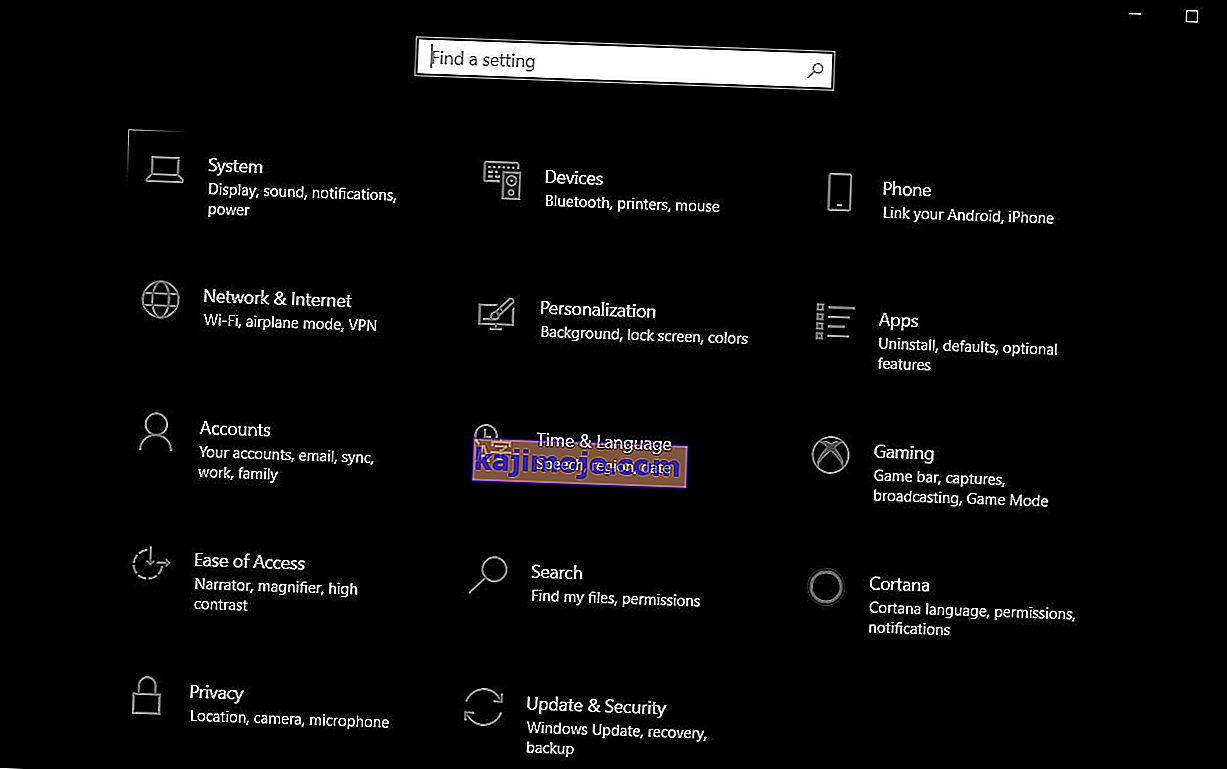
- Press “Windows’ + “I” to open settings.
- In settings, click on “Apps” and then select “Default Apps” from the left pane.
- Click on the “Web browser” option and then select “Internet Explorer” from the list.
- Open Steam and check to see if the issue persists.

Solution 12: Removing Steam Content Server Limiter
In certain cases, it was shown that uninstalling Steam Content Server Limiter from the Classical Control Panel interface fixes this issue for a lot of people. Therefore, in this step, we will be doing exactly that. For that:
- Press “Windows’ + “R” to open the Run prompt.
- Type in “Control” and press “Enter”.

- Click on the “Uninstalla Program” option and then right-click on the “Steam Content Server Limiter” and select “Uninstall”.
- After the server limiter is uninstalled, check to see if the issue persists.

Method 13: Changing DNS
In certain situations, the server DNS that the computer is using to communicate with the internet might not be compatible either with the steam servers or it might be facing issues temporarily. Therefore, in this step, we will be changing our DNS servers. For that;
- Press “Windows’ + “R” to open the Run prompt.
- Type in “ncpa.cpl” and press “enter”.

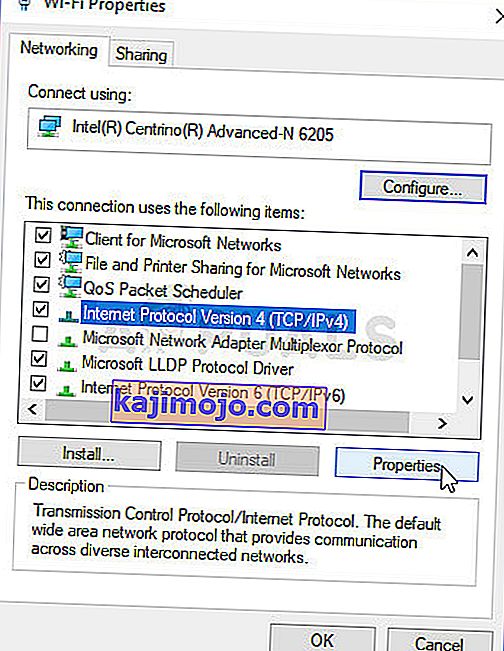
- Right-click on your network adapter and select “Properties”.
- In properties, double click on the “Internet Protocol Version 4(TCP/IPV4)” option and check the “Use following DNS Addresses” option.
- Type in “8.8.8.8” in the primary DNS address and “8.8.4.4” in the secondary DNS address.
- Click on “OK” and then check to see if the issue persists. If it does, try using “1.1.1.1” and “1.0.0.1” in the fields respectively.


Method 14: Changing Config File
In certain situations, the config file on the computer might require some editing in order to get it some games to start working. The steps listed below are primarily for Mac but you can try them on some older OS such as Windows XP too as some users reported that this fixed it for them.
- Open the Mac Finder and navigate to the following directory.
drive_c/Program Files/Steam/config/
- Launch the “config.vdf” file and wait for it to open.
- Find the following text lines inside the file.
"InstallConfigStore" { "Software" { "Valve" { "Steam" "cip" - Paste the following lines of code under the “cip” entry in the config after creating a new line under it.
CS" "valve511.steamcontent.com;valve501.steamcontent.com;valve517.steamcontent.com;valve557.steamcontent.com;valve513.steamcontent.com;valve535.steamcontent.com;valve546.steamcontent.com;valve538.steamcontent.com;valve536.steamcontent.com;valve530.steamcontent.com;valve559.steamcontent.com;valve545.steamcontent.com;valve518.steamcontent.com;valve548.steamcontent.com;valve555.steamcontent.com;valve556.steamcontent.com;valve506.steamcontent.com;valve544.steamcontent.com;valve525.steamcontent.com;valve567.steamcontent.com;valve521.steamcontent.com;valve510.steamcontent.com;valve542.steamcontent.com;valve519.steamcontent.com;valve526.steamcontent.com;valve504.steamcontent.com;valve500.steamcontent.com;valve554.steamcontent.com;valve562.steamcontent.com;valve524.steamcontent.com;valve502.steamcontent.com;valve505.steamcontent.com;valve547.steamcontent.com;valve560.steamcontent.com;valve503.steamcontent.com;valve507.steamcontent.com;valve553.steamcontent.com;valve520.steamcontent.com;valve550.steamcontent.com;valve531.steamcontent.com;valve558.steamcontent.com;valve552.steamcontent.com;valve563.steamcontent.com;valve540.steamcontent.com;valve541.steamcontent.com;valve537.steamcontent.com;valve528.steamcontent.com;valve523.steamcontent.com;valve512.steamcontent.com;valve532.steamcontent.com;valve561.steamcontent.com;valve549.steamcontent.com;valve522.steamcontent.com;valve514.steamcontent.com;valve551.steamcontent.com;valve564.steamcontent.com;valve543.steamcontent.com;valve565.steamcontent.com;valve529.steamcontent.com;valve539.steamcontent.com;valve566.steamcontent.com;valve165.steamcontent.com;valve959.steamcontent.com;valve164.steamcontent.com;valve1611.steamcontent.com;valve1601.steamcontent.com;valve1617.steamcontent.com;valve1603.steamcontent.com;valve1602.steamcontent.com;valve1610.steamcontent.com;valve1615.steamcontent.com;valve909.steamcontent.com;valve900.steamcontent.com;valve905.steamcontent.com;valve954.steamcontent.com;valve955.steamcontent.com;valve1612.steamcontent.com;valve1607.steamcontent.com;valve1608.steamcontent.com;valve1618.steamcontent.com;valve1619.steamcontent.com;valve1606.steamcontent.com;valve1605.steamcontent.com;valve1609.steamcontent.com;valve907.steamcontent.com;valve901.steamcontent.com;valve902.steamcontent.com;valve1604.steamcontent.com;valve908.steamcontent.com;valve950.steamcontent.com;valve957.steamcontent.com;valve903.steamcontent.com;valve1614.steamcontent.com;valve904.steamcontent.com;valve952.steamcontent.com;valve1616.steamcontent.com;valve1613.steamcontent.com;valve958.steamcontent.com;valve956.steamcontent.com;valve906.steamcontent.com"
- Save your changes and check to see if the issue persists.
Note: Some users reported to fix the issue after having to deleting the CM List IP addresses in the file aswell in addition to pasting this code.