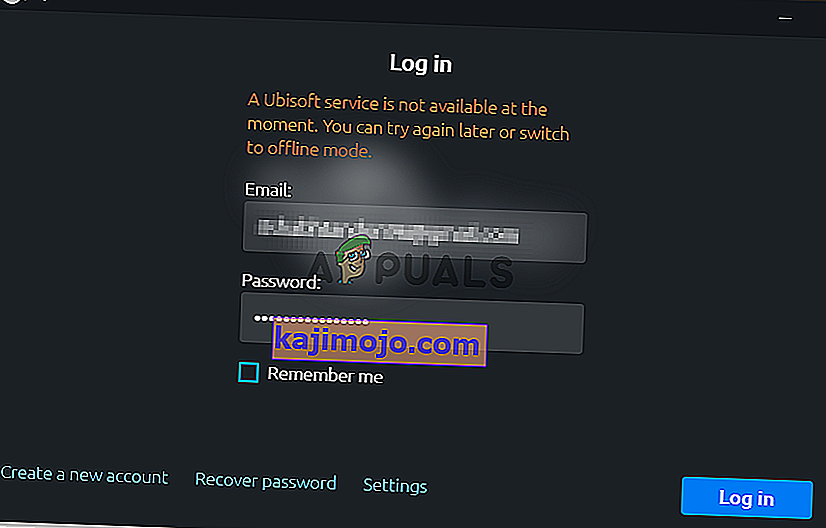
Bir Ubisoft başlatmaya çalışırken Uplay tarafından "Bir Ubisoft hizmeti şu anda kullanılamıyor" hatası görüntüleniyor. Uplay, Ubisoft oyunları için dijital dağıtım, DRM, çok oyunculu ve iletişimleri yönetmek için kullanılır ve her Ubisoft oyununun hayati bir parçasıdır. Hata, bir oyun başlatmaya veya bilgisayarınızda Uplay oturumu açmaya çalışırken görünür.
Neyse ki, birçok kullanıcı sorunu çözmek için kullandıkları yöntemleri bilgisayarlarında yayınladı. Bu yöntemler için adım adım talimatlar sağladık, bu nedenle bunları dikkatlice uyguladığınızdan ve umarız sorunu çözdüğünüzden emin olun!
Windows'ta "Bir Ubisoft Hizmeti Şu Anda Kullanılamıyor" Hatasına Neden Olan Nedir?
Bu soruna atfedilebilecek oldukça farklı nedenler vardır ve aşağıda hazırladığımız listeye göz atmanızı şiddetle tavsiye ederiz. Doğru olanı belirlemek, doğru sorun giderme yöntemini daha hızlı seçmenize yardımcı olabilir. İyi şanslar!
- Saat ve tarih yanlış ayarlanmış - Bilgisayarınızda saat ve tarih ayarlarının doğru şekilde yapılandırıldığından emin olmanız gerekir. Hemen hemen tüm çevrimiçi hizmetler, doğru şekilde kurulmak için zaman ve tarihe güvenir. Bunun sorunu çözüp çözmediğine bakın.
- Bozuk bir işlem çalışıyor - ProgramData'da oyun her başladığında çalışan garip bir şekilde çalıştırılabilir bir ad var. Bitirmek, birçok kullanıcı için olduğu gibi sorunu çözebilir!
- Hamachi - Bilgisayarlarına Hamachi'yi yükleyen kullanıcılar, sorunun Hamachi'yi kaldırır kaldırmaz görünmediğini bildirdi.
- IPv6 - Sorun yalnızca bağlanmak için IPv6 protokolü kullanıldığında ortaya çıkıyor. IPv4'e geçmek sorunu kolayca çözebilir.
- Ağ sorunları - Bilgisayarınızdaki çeşitli ağ ayarlarıyla ilgili sorunlar birkaç yolla çözülebilir: ana bilgisayarın dosyasını sıfırlama, ağ sıfırlama işlemi veya statik IP ve DNS adresleri atama.
1.Çözüm: Bilgisayarınızdaki Saati ve Tarihi Kontrol Edin
Ubisoft ve Uplay çevrimiçi hizmetlerini kullanmak, bilgisayarınızdaki saat ve tarihin doğru ayarlandığını varsayar. Bu, çeşitli güvenlik sorunlarını önlemek için kullanılan bir standarttır ve bu ayarların doğru şekilde yapılması, yapmanız gereken bir şeydir. Bilgisayarınızda saati ve tarihi doğru bir şekilde ayarlamak için aşağıdaki talimatları izleyin!
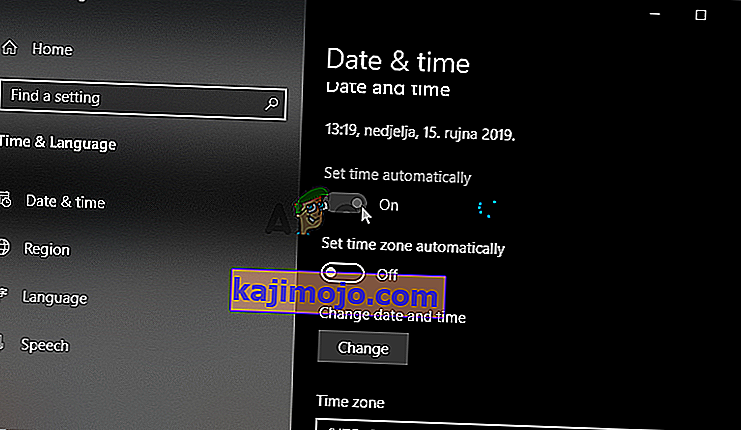
- Başlat menüsünü açarak ve Başlat menüsünün sol alt köşesindeki dişli simgesine tıklayarak Ayarlar aracını açarak Windows 10 Ayarları'nı açın .
- Alternatif olarak, Ayarlar'ı doğrudan açmak için Windows tuşu + I tuş kombinasyonunu da kullanabilirsiniz. Saat ve Dil bölümünü açmak için tıklayın ve sol taraftaki gezinme menüsünde bulunan Tarih ve saat sekmesine gidin.

- In Tarih ve Saat sekmesinde, bilgisayarınızın tarih ve saatinin doğru ayarlanmış olduğundan emin olun. Saat doğru değilse , geçerli duruma bağlı olarak Saati otomatik olarak ayarla seçeneğini açıp kapatmayı deneyebilirsiniz .
- Tarihi değiştirmek için, Tarih altında, takvimde geçerli ayı bulmak için açılır menü düğmesine tıklayın ve ardından geçerli tarihi tıklayın.
- Saati değiştirmek için, Saat altında değiştirmek istediğiniz saati, dakikayı veya saniyeyi tıklayın ve ardından saat diliminize göre doğru olana yerleşene kadar değerleri kaydırın.
- Saat ayarlarını değiştirme tamamladığınızda, tıklayın Tamam .
Alternatif : Ayarları bu şekilde değiştirerek sorununu çözemeyen kişiler, bunu Denetim Masası'nda da yapabilirler. Ayarlar benzerdir ancak artık zamanınızı İnternet saatiyle senkronize etmek için ayarlayabilirsiniz.
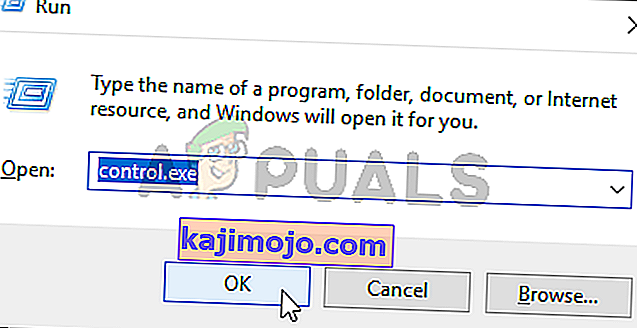
- Başlat düğmesinde arayarak veya görev çubuğunuzun sol tarafındaki (ekranınızın sol alt kısmı) Ara veya Cortana düğmesine tıklayarak Denetim Masası'nı açın . Ayrıca Windows Tuşu + R tuş kombinasyonunu kullanarak , Çalıştır kutusuna “ control.exe ” yazarak ve Denetim Masası'nı çalıştırmak için Tamam'a tıklayarak da açabilirsiniz .
- Denetim Masası açıldıktan sonra, görünümü Büyük veya Küçük simgeler olarak değiştirin ve Tarih ve Saat seçeneğini açmak için pencerede aşağı gidin . Tarih ve Saat sekmesinden, üstteki Tarih ve saati değiştir düğmesini tıklayın ve buradan ayarlayabilirsiniz.
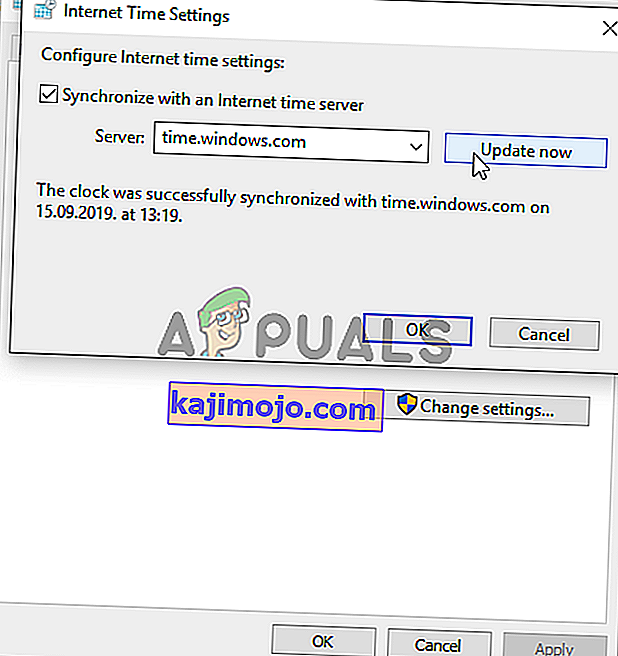
- Alternatif olarak, aşağıdaki adımları izleyerek zamanı çevrimiçi bir zaman sunucusuyla senkronize etmeyi seçebilirsiniz. Tarih ve Saat penceresindeki İnternet Saati sekmesine gidin ve Ayarları değiştir seçeneğine tıklayın İnternet saat sunucusuyla senkronize et seçeneğinin yanındaki kutuyu işaretleyin ve Şimdi güncelle düğmesine tıklayın. Ardından Tamam, Uygula, Tamam'a tıklayın ve Denetim Masası'nı kapatın.
- Yukarıdaki adımları tamamladığınızda, sorun çözülmelidir.


2.Çözüm: Görev Yöneticisinde Hatalı İşlemi Sonlandırın
ProgramData'dan çalışan belirli bir bozuk dosya var. Ubisoft'a aittir, ancak çoğu zaman bozulur ve kullanıcıların yardımcı programı açmasını engeller. Adı herkes için aynı değildir, ancak onu Görev Yöneticisi'nde tamamen ilgisiz harflerden oluşan bir dizi olarak tanıyacaksınız. Bu görevi bitirmek için aşağıdaki adımları izleyin!
Uplay veya bir Ubisoft oyununu açın ve kimlik bilgilerinizi girmenizi isteyen ekranı bekleyin. "Bir Ubisoft hizmeti şu anda kullanılamıyor" hatası görünmelidir.
- Kullanım Ctrl + Shift + Esc tuş kombinasyonunu Görev Yöneticisi yardımcı programını açmak için aynı anda tuşlarına basarak.
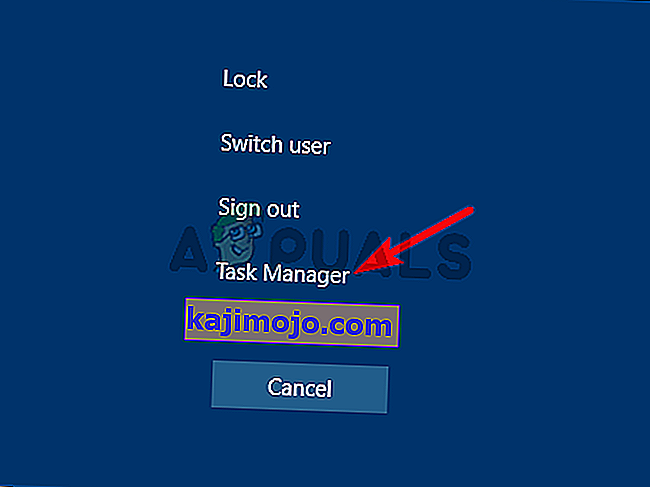
- Alternatif olarak, Ctrl + Alt + Del tuş kombinasyonunu kullanabilir ve birkaç seçenekle görünecek olan açılır mavi ekrandan Görev Yöneticisi'ni seçebilirsiniz. Bunu Başlat menüsünde de arayabilirsiniz.
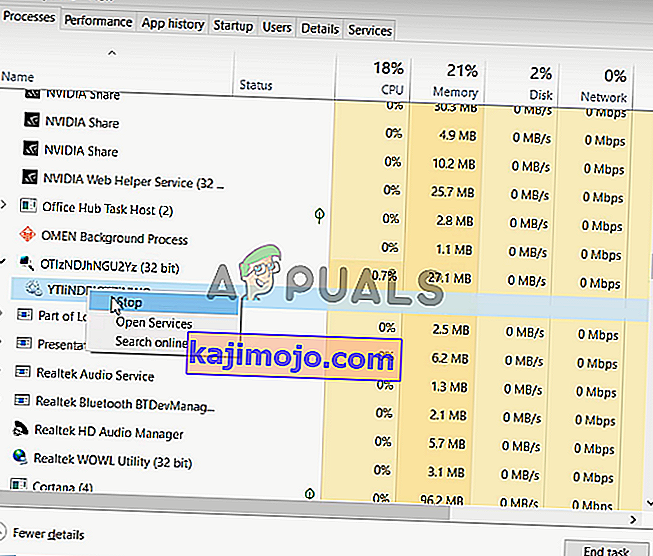
- Görev Yöneticisi'ni genişletmek için pencerenin sol alt kısmındaki Daha fazla ayrıntıya tıklayın . İşlemlerde Kalın Arka plan işlemleri listesine ulaşana kadar aşağı kaydırın ve adında aşağıdaki fotoğraftakine benzer bir dosya arayın.
- Onu seçin ve pencerenin sağ alt kısmından Görevi sonlandır seçeneğini seçin .
- Görevi sonlandırmaya çalışırken görünebilecek tüm diyalogları onaylayın ve artık bilgisayarınızda Uplay'e giriş yapıp yapamayacağınızı kontrol edin!
3. Çözüm: Hamachi'yi kaldırın
Hamachi kullanmak bazı kullanıcılar için belirli bir nedendir. Kullanıcıların iki program arasında seçim yapması gerektiği için sorunludur. Ancak, Uplay daha önemlidir, bu nedenle sorunun çözülüp çözülmediğini görmek için bir süre Hamachi'yi kaldırmayı düşünmelisiniz. Aşağıdaki talimatları izleyin!
- Başlat menüsü düğmesine tıklayın ve arayarak Denetim Masası'nı açın . Alternatif olarak, Windows 10 kullanıyorsanız ayarları açmak için dişli simgesine tıklayabilirsiniz .
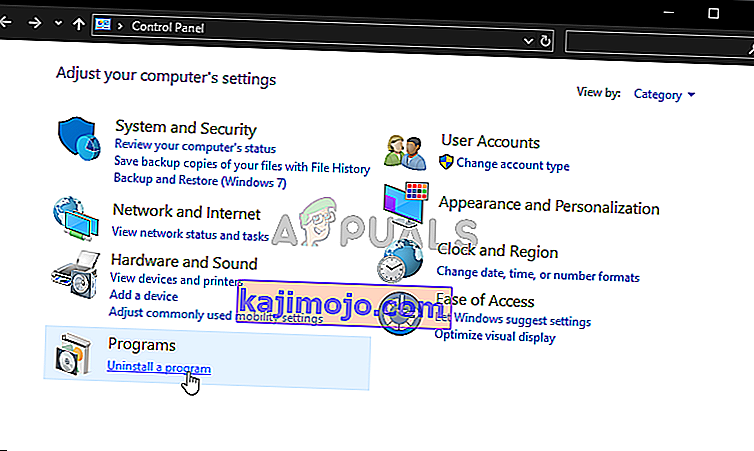
- Denetim Masası'nda, sağ üst köşedeki Farklı Görüntüle - Kategori'yi seçin ve Programlar bölümünün altındaki Program Kaldır'ı tıklayın .
- Ayarlar uygulamasını kullanıyorsanız, tıklayarak Apps hemen PC'nizdeki tüm yüklü programların listesini açılmalıdır.
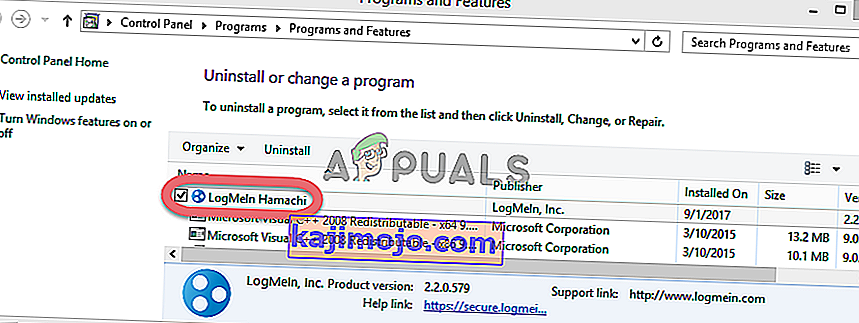
- Denetim Masası veya Ayarlar'da LogMeIn Hamachi aracını bulun ve Kaldır'a tıklayın . Kaldırma sihirbazı açılmalıdır, bu yüzden kaldırmak için talimatları izleyin.
- Kaldırma programı işlemi tamamladığında Bitir'i tıklayın ve hataların yine de görünüp görünmeyeceğini görmek için bilgisayarınızı yeniden başlatın.


4.Çözüm: IPv6'yı devre dışı bırakın
Bilgisayarınızdaki İnternet Protokolü sürüm 6 bağlantısını devre dışı bırakmak, birçok kullanıcı için sorunu çözmeyi başardı ve bu, sorunu çözmenin kolay bir yoludur. Bu, bu yöntemi değerli kılar ve sorun giderme süreciniz sırasında onu atlamamalısınız.
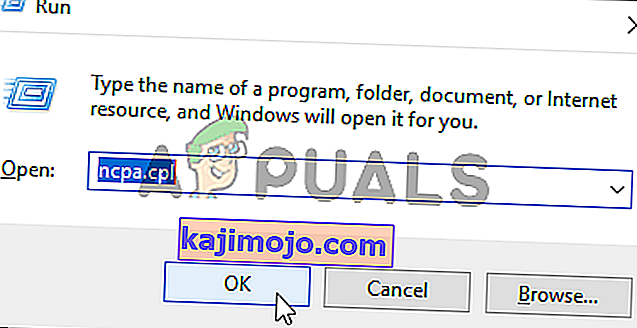
- Çubuğa ' ncpa.cpl ' yazmanız gereken Çalıştır iletişim kutusunu hemen açması gereken Windows + R tuş kombinasyonunu kullanın ve Denetim Masası'ndaki İnternet Bağlantısı ayarları öğesini açmak için Tamam'ı tıklayın.
- The same process can also be done by manually opening the Control Panel. Switch the View by setting at the top right section of the window to Category and click on Network and Internet at the top. Click the Network and Sharing center button to open it. Try to locate the Change adapter settings button at the left menu and click on it.
- When the Internet Connection window opens, double-click on your active Network Adapter.
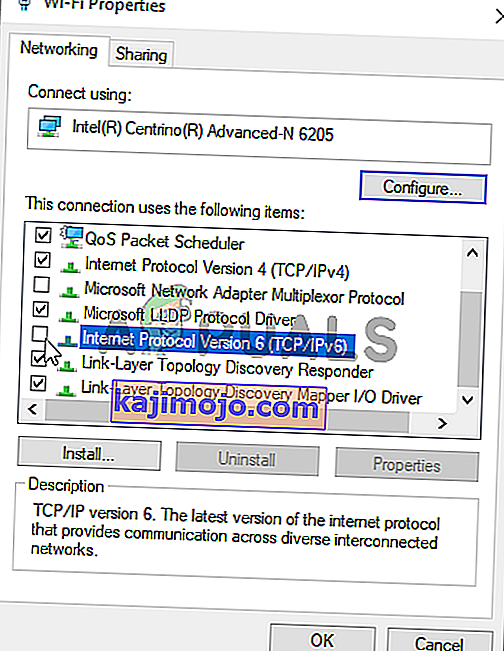
- Then click Properties and locate the Internet Protocol Version 6 entry on the list. Disable the checkbox next to this entry and click OK. Restart your computer to confirm the changes and check to see if the problem persists.
Solution 5: Use Static IP and DNS Addresses
By default, IP and DNS address of your computer change over time. This is usually not problematic but users have reported that assigning static IP and DNS addresses to your computer can help you resolve the “A Ubisoft service is currently unavailable” error on Windows. Follow the steps below to try out this method!
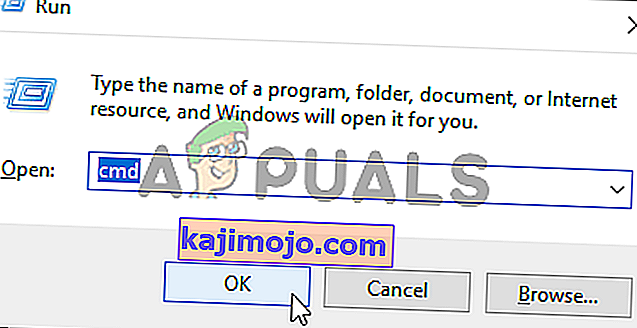
- Make sure you open a Command Prompt window by searching for “cmd” or “Command Prompt” in the Start menu.
- Type in the command which will be displayed below and scroll down towards the network adapter which corresponds with the connection you are using. Take note of Default Gateway, Subnet Mask, MAC and DNS
ipconfig /all
- After that, use the Windows + R key combo which should immediately open the Run dialog box where you need to type ‘ncpa.cpl’ in the bar and tap OK to open the Internet Connection settings item in Control Panel.

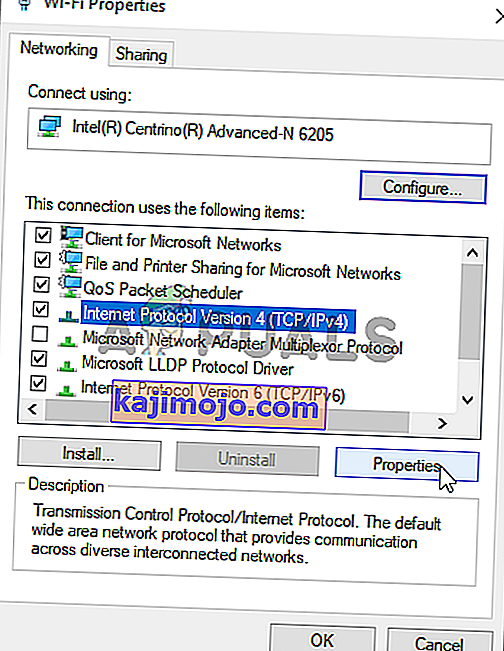
- Left-click your active network adapter and click on the Properties Locate the Internet Protocol Version 4 (TCP/IPv4) item on the list. Tap on it to select it and click the Properties button below.
- Stay in the General tab and switch the radio button in the Properties window to “Use the following DNS server addresses” and use 8.8.8 and 8.8.4.4 respectively. Switch to “Use the following IP address” and use the same number as the Default Gateway you took note of but change the last digit after the last dot so something else. Fill out other information the same as you took note.
Solution 6: Completely Reset Your Hosts File
The host’s file is an important file when it comes to networking issues. Resettings it can resolve many different problems, including the “A Ubisoft service is currently unavailable” error. If for some reason, you find that your hosts file has been compromised or if you start experiencing this problem with Origin, you can reset the file back to default by following the steps below.
- Navigate to the location C >> Windows >> System32 >> Drivers >> Etc by navigating to it after opening the File Explorer. First, click This PC or My Computer from the left side pane to locate and open your Local Disk C.
- If you are unable to see the Windows folder, you may need to turn on the option which enables you to see hidden files and folders. Click the “View” tab in File Explorer’s top menu and click the “Hidden items” checkbox in the Show/hide File Explorer will show the hidden files and will remember this setting until you change it again.
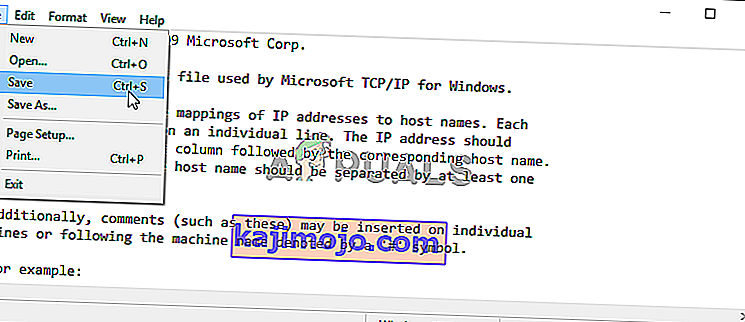
- Locate the hosts file in the Etc folder, right-click on it, and choose to Open it with Notepad. Use the Ctrl + A key combination to select all text and click Delete or Backspace to delete it. After that, paste the following text inside:
# Copyright (c) 1993-2006 Microsoft Corp. # # This is a sample HOSTS file used by Microsoft TCP/IP for Windows. # # This file contains the mappings of IP addresses to hostnames. Each # entry should be kept on an individual line. The IP address should # be placed in the first column followed by the corresponding host name. # The IP address and the host name should be separated by at least one # space. # # Additionally, comments (such as these) may be inserted on individual # lines or following the machine name denoted by a '#' symbol. # # For example: # # 102.54.94.97 rhino.acme.com # source server # 38.25.63.10 x.acme.com # x client host # localhost name resolution is handled within DNS itself. # 127.0.0.1 localhost # ::1 localhost
- Click File >> Save to save the changes. Exit Notepad and restart your computer. Check to see if the problem persists regarding Ubisoft to log in properly.
Solution 7: Use SFC to Scan for Missing or Corrupt System Files
Networking issues can often by system-related. These problems are rooted deep inside the system files and the only way to try to resolve them is by running the System File Checker (SFC). It will scan your system files for errors and possible repair or replace them. Follow the steps below to do so!
- Search for “Command Prompt” by typing it either right in the Start menu or by pressing the search button right next to it. Right-click the first entry which will pop up as a search result and select the “Run as administrator” context menu entry.
- Additionally, you can also use the Windows Logo Key + R key combination to bring up the Run dialog box. Type in “cmd” in the dialog box which appears and use the Ctrl + Shift + Enter key combination for admin Command Prompt.
- Type in the following commands in the window and make sure you press Enter after typing each one. Wait for the “Operation completed successfully” message as an indication that our message was successful.
sfc /scannow
- Try to restart your computer and check to see if the “A Ubisoft service is currently unavailable” error continues to appear on your computer.
Solution 8: Perform a Network Reset
Performing a Network Reset is yet another simple method of resolving this problem and it’s the last one in our list. It has worked for many users and you have absolutely nothing to use if you try it out. Follow the steps below and check to see if the “A Ubisoft service is currently unavailable” error continues to appear on your computer.
- Open the Run utility by using the Windows Key + R key combination on your keyboard (press these keys at the same time. Type “ms-settings:” in the newly opened box without the quotation marks and click OK to open the Settings tool.
- An alternative way would be to open the Settings tool on your PC by clicking the Start menu and clicking the cog icon at the bottom left part.

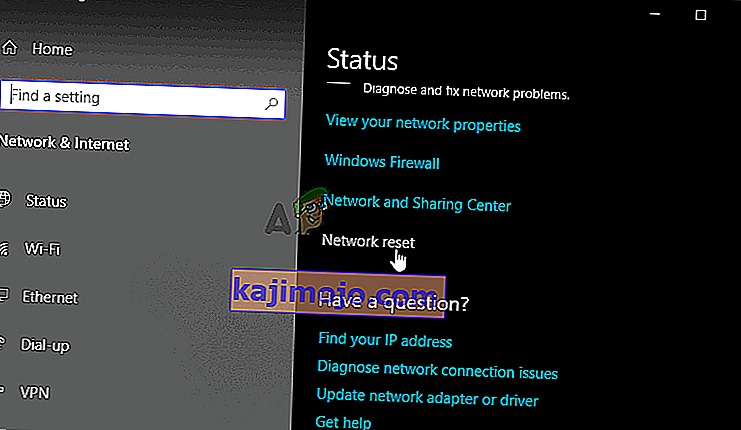
- Also, you can use the Windows key + I key combination for the same effect. Click to open the Network & Internet section and stay in the Status tab at the left side of the window.
- Scroll down until you reach the blue Network reset button. Click it and follow the instructions which will appear on-screen and make sure you comply with everything.
- Check to see if the same problem persists!

